Overview
Creating a portal is the first step toward giving your external users a self-service experience. This article walks you through the process of creating a new portal, choosing a type, and claiming a unique subdomain.
Accessing Portal Settings
Portal configuration is found in the Configuration section of the main menu. Navigate to the portal settings area to see a list of any existing portals and the option to create a new one.
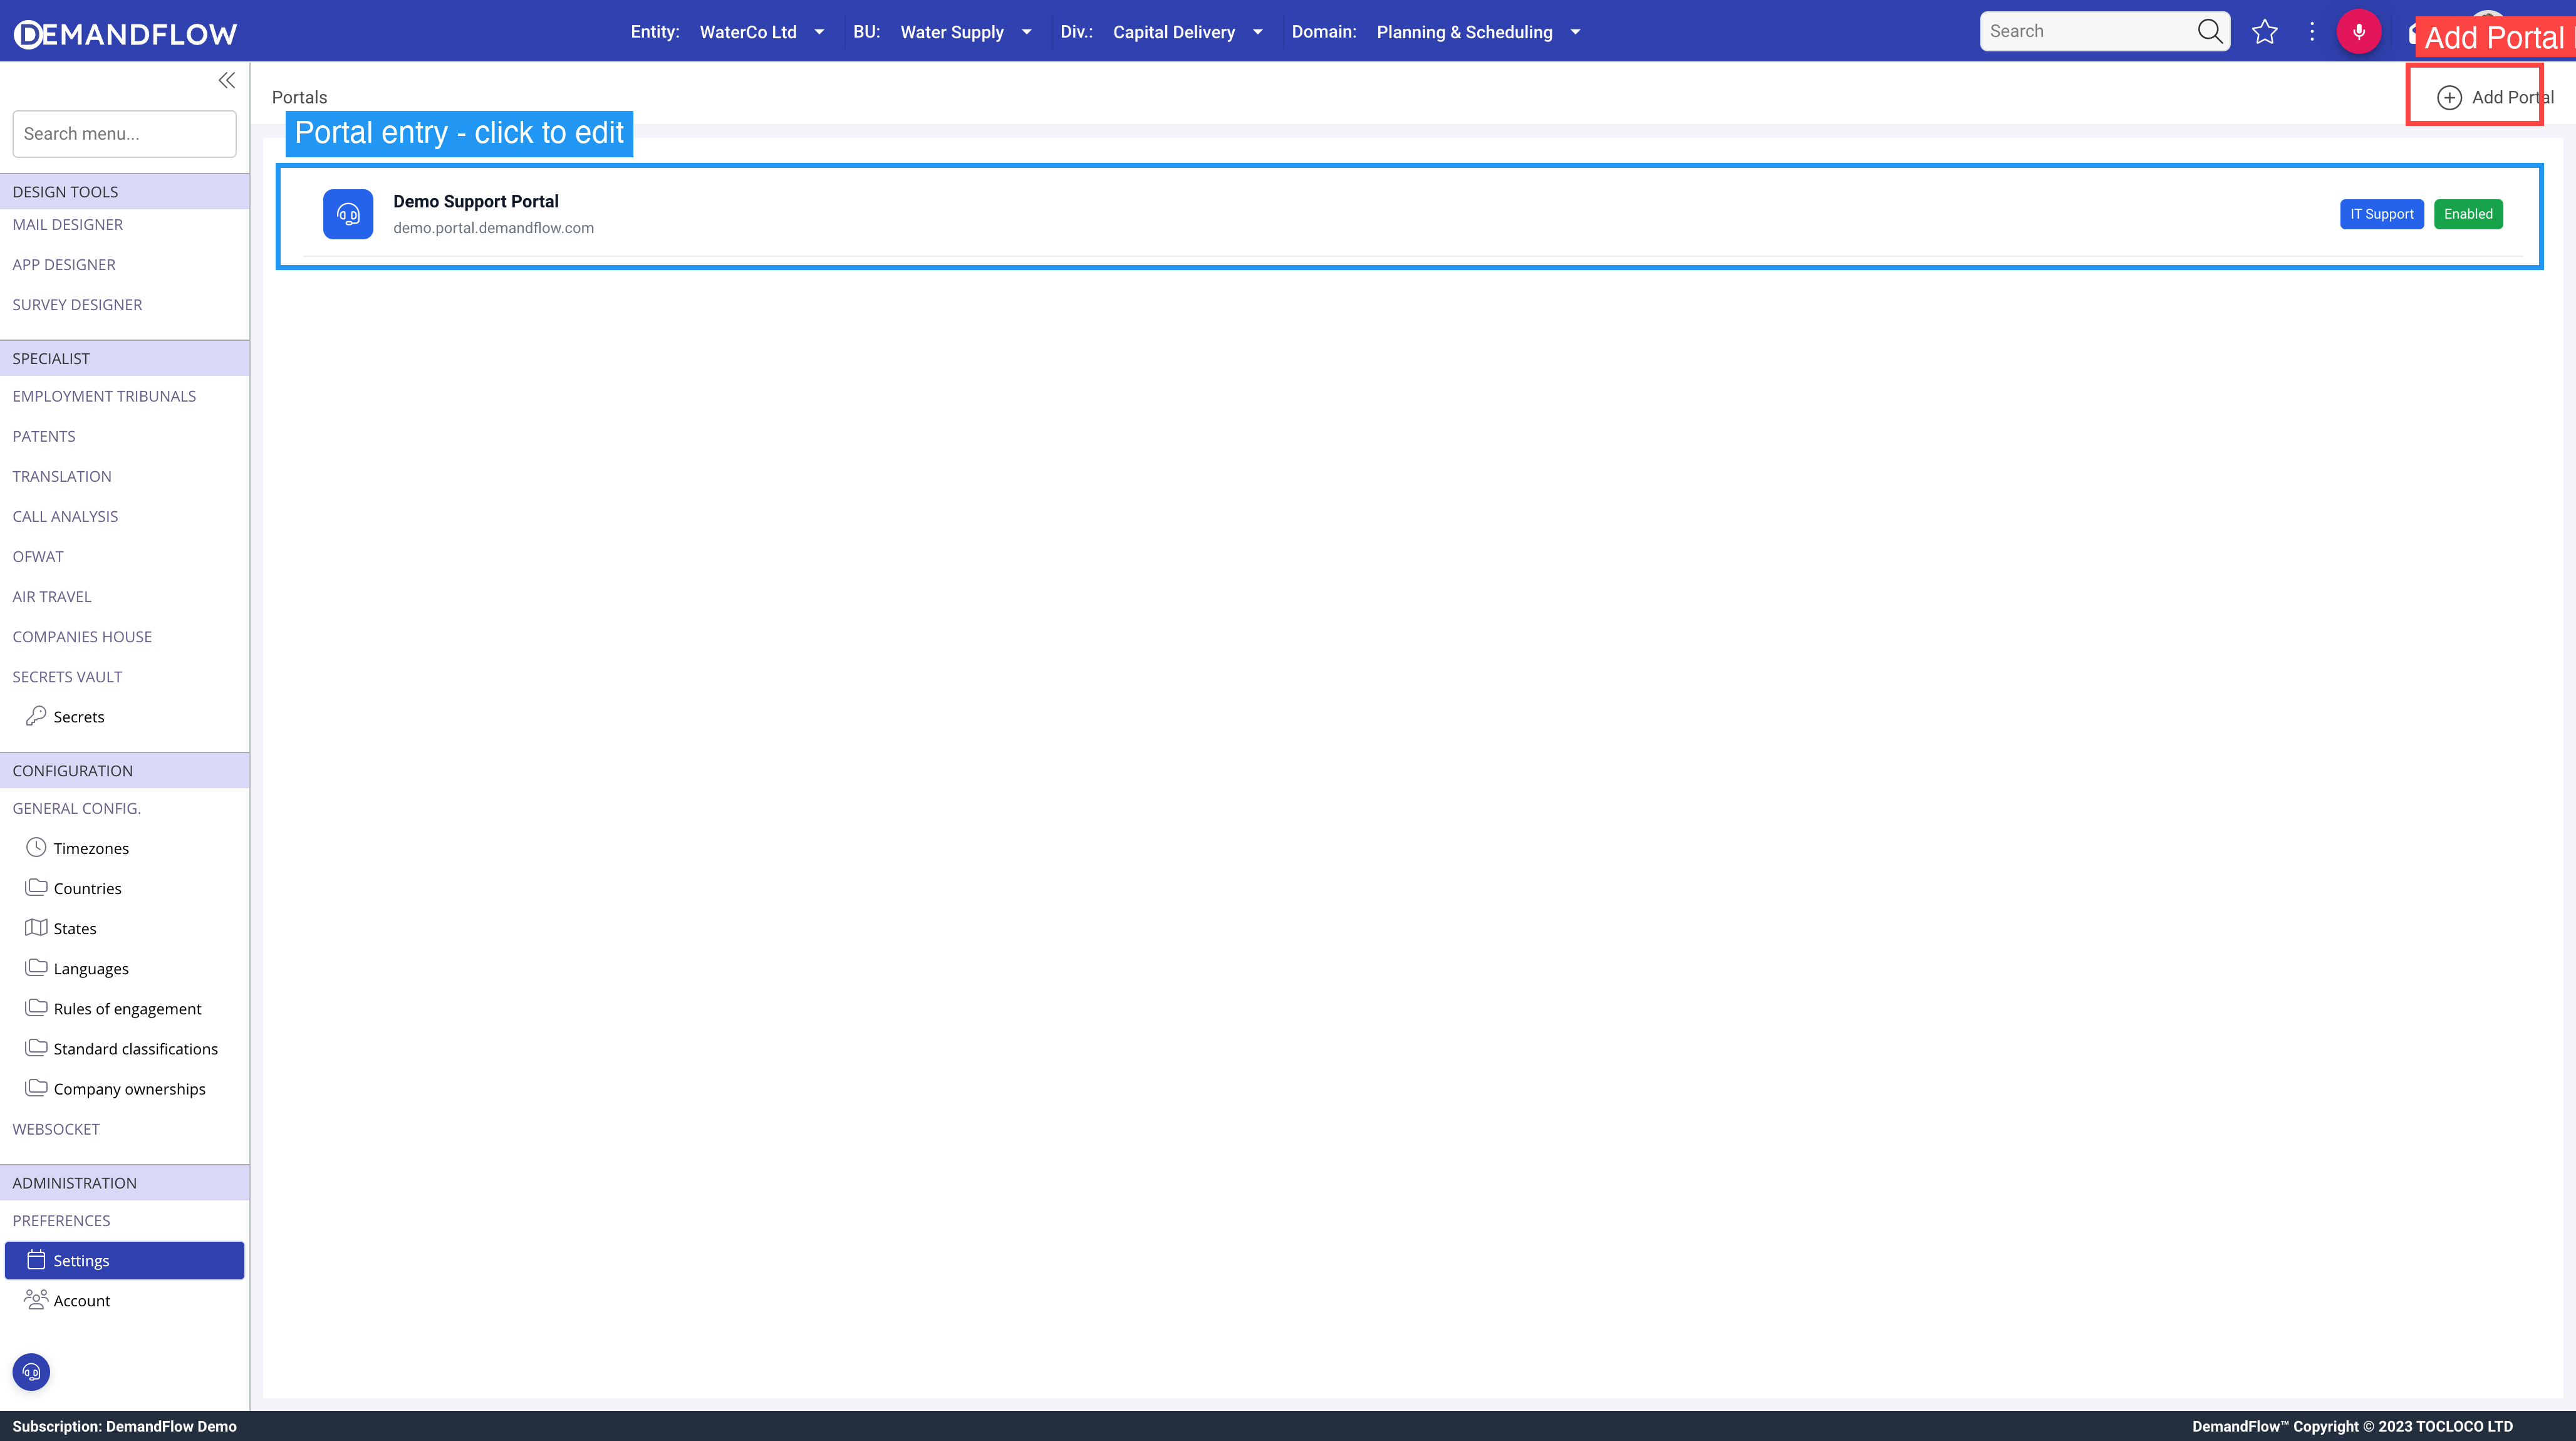
Step 1: Start Creating a Portal
Click the Create Portal button to open the new portal form. You will be asked to provide three pieces of information:
Portal Type
Choose the type of portal you want to create:
- IT Support — includes knowledge base, ticket submission, and service catalog features. Choose this for help desks, customer support, and self-service information portals.
- Contractor — includes timesheet, expense, and invoice submission features. Choose this for managing external contractor interactions.
The portal type determines which features are available for configuration. You can change the type later if needed, but it is best to choose the correct type from the start.
Portal Name
Enter a name for your portal. This is the display name shown in the portal header and in your list of portals within DemandFlow. Choose something your users will recognise, such as:
- "Acme Support Centre"
- "WaterCo Help Desk"
- "Partner Contractor Portal"
Subdomain
Choose a unique subdomain for your portal's web address. Your portal will be accessible at:
https://{your-subdomain}.portal.demandflow.com
As you type, a live preview shows the full URL so you can see exactly what your portal's address will be.
Subdomain Rules
- Must be between 3 and 30 characters long
- Can contain lowercase letters, numbers, and hyphens
- Cannot start or end with a hyphen
- Must be unique — no two portals across all of DemandFlow can share the same subdomain
The system checks availability in real time and will let you know if your chosen subdomain is already taken or invalid.
Choosing a Good Subdomain
Your subdomain is part of the URL you will share with users, so choose something short, memorable, and professional:
| Good Examples | Avoid |
|---|---|
acme-support | acme-support-portal-2024-v2 (too long) |
waterco | test123 (not professional) |
help | my-portal (too generic) |
Step 2: Save the Portal
Once you have filled in the type, name, and subdomain, click OK to create the portal. The system will:
- Validate and claim your subdomain
- Create the portal configuration record
- Open the portal editor so you can continue with branding and feature setup
At this point, your portal exists but is not yet live. You need to enable it (covered in the branding and features articles) before it becomes accessible to users.
What Happens Next?
After creating your portal, you should:
- Configure the branding and appearance — upload your logo, set colours, and write a welcome message
- Enable features — turn on the knowledge base, ticket submission, or contractor features
- Set up your knowledge base — create categories and publish articles
- Customise the ticket form — choose which fields appear on the submission form