Before any log events can reach DemandFlow, an admin needs to create a log source record and generate its ingest key. One log source corresponds to one external system: an application, a Lambda, a firewall, an agent, anything that produces events you want to keep.
This is an admin-only activity. Log sources and their keys control machine credentials, so they live behind the Settings screen.
Open the Log sources page
Go to Settings in the top toolbar, then scroll or search for Log sources under the SIEM section. Click the tile. You see the list of log sources the tenant already has, or an empty list on a fresh install.
Create the source
- Click New Log Source in the toolbar.
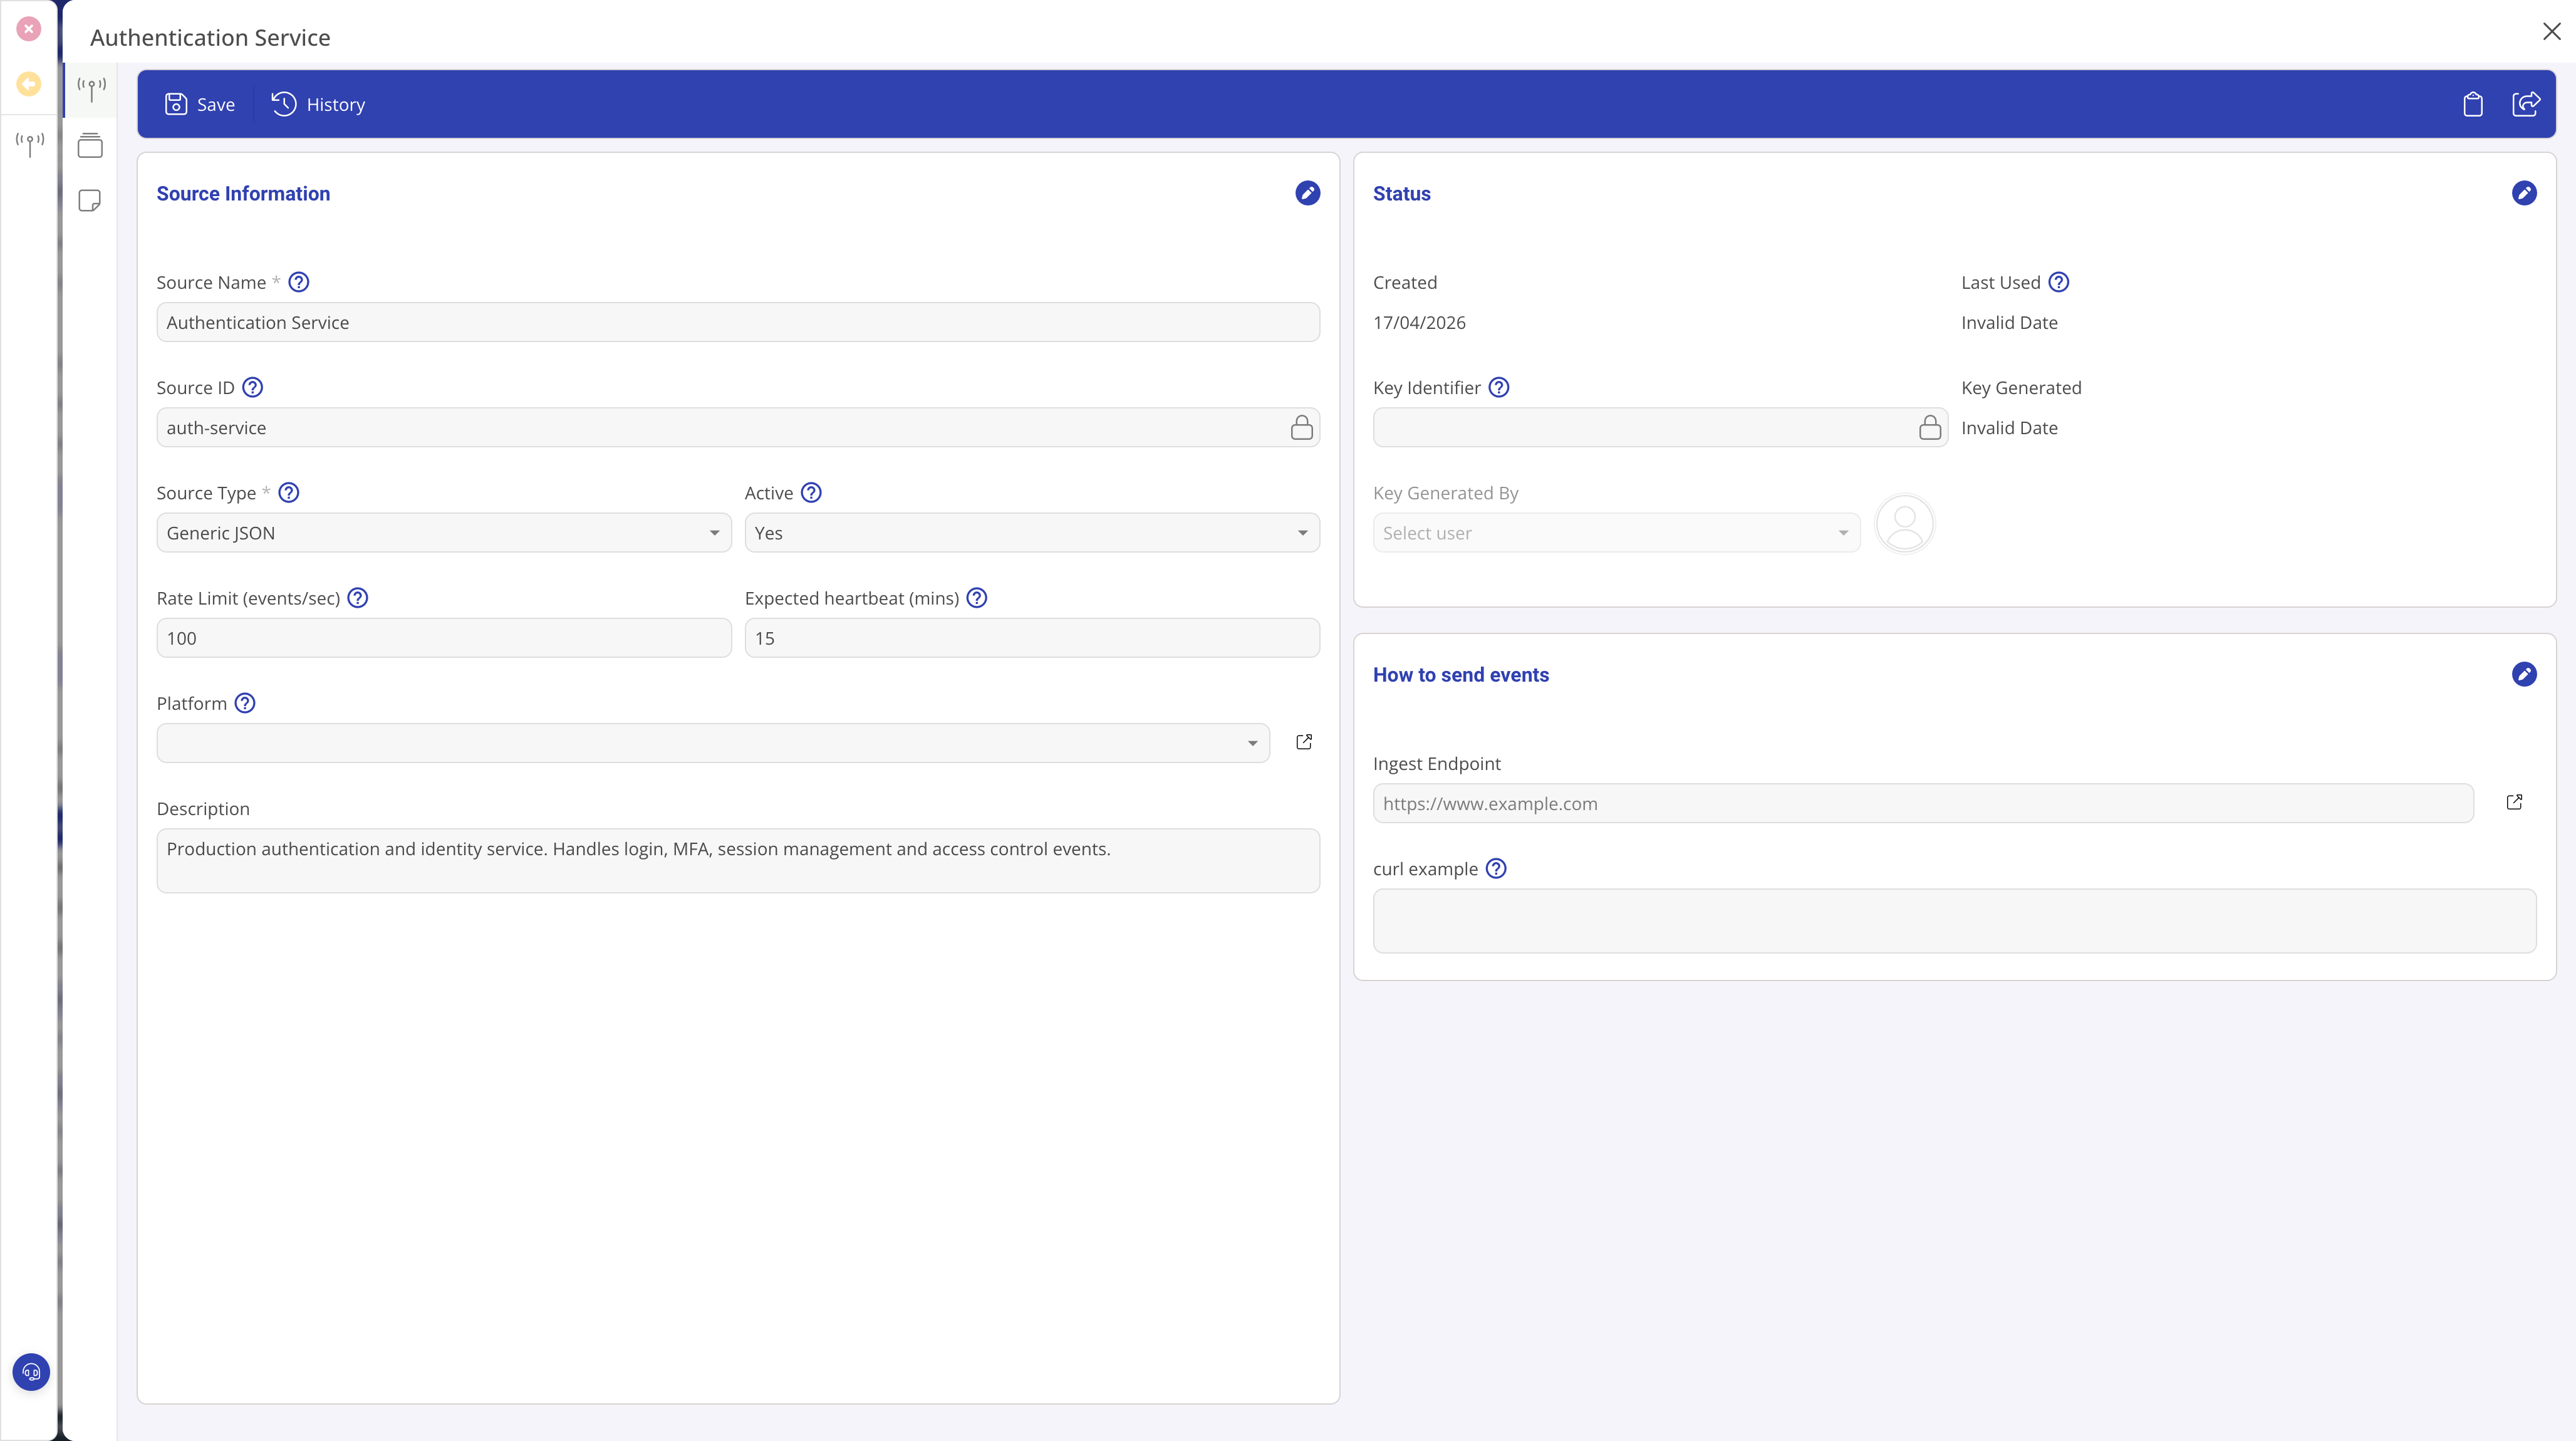
- Enter a Source Name. Pick something recognisable: Authentication Service, Customer Portal, Edge Firewall. This is the display label you see in alerts, rules, and dashboards. You can rename it later without affecting historical events.
- Leave the Source Type set to the default Generic JSON. Additional types (CEF, syslog) will follow in later releases.
- Set the Active flag to Yes.
- Set a Rate Limit (events per second). The default is 100. This stops one runaway source from starving the others. Events exceeding the limit receive a 429 response.
- Optionally add a Description explaining what the source is, where it runs, and who owns it.
- Save.
Associate with a platform
The Platform field on a log source is optional but recommended for organisations managing multiple systems. Linking a source to a Platform record (from the Platform Management module) groups the source with its related infrastructure.
Benefits of platform association
- Alert rule scoping. Alert rules scoped to a Platform auto-apply to every source linked to it, including sources added later. One rule covers the whole platform without editing rules when new sources are onboarded.
- Source Health filtering. The Source Health screen can be filtered or grouped by platform, making it easy to see which platforms are healthy and which have silent sources.
- Dashboard filtering. SIEM dashboards can filter by platform to show metrics for just one environment or service tier.
When to use it
Use platform association if you manage distinct environments (Production, Staging), service tiers, or application groups. If you have a single flat set of sources with no logical grouping, you can skip this field.
Setting the platform
Open the log source record and pick a Platform from the lookup field in the Source Information section. The platform must already exist in the Platform Management module. You can change or remove the association at any time.
Configure heartbeat monitoring
The Expected heartbeat (mins) field controls Source Health monitoring. Set it to the maximum acceptable gap between events from this source.
Choosing a heartbeat interval
- If a source sends events every few seconds, set the heartbeat to 5 to 10 minutes.
- If a source sends events every hour, set the heartbeat to 120 minutes.
- The heartbeat should be well above the normal event cadence to avoid false alarms during quiet periods.
Disabling heartbeat monitoring
Set the heartbeat to 0 to disable monitoring for this source. It will always show as Healthy on the Source Health screen (provided it is active). Use this for sources that send events on demand rather than continuously, for example a batch job that runs once a week.
Interaction with absence alert rules
Absence alert rules can be configured to "Use each source's own heartbeat". When set this way, the rule reads the heartbeat value from each source individually, so you do not need to duplicate timing thresholds in the rule configuration.
Generate the ingest key
Open the saved log source. Find the Generate ingest key button in the toolbar.
- Click Generate ingest key.
- A popout appears with the new key in plain text, a copy button, and an example curl command for testing.
- Copy the key immediately. DemandFlow stores only a SHA-256 hash of it. Once you close the popout, the key is gone: neither you nor DemandFlow support can retrieve it afterwards.
- Paste the key into your source system's configuration (secret manager, environment variable, credentials vault).
- Close the popout.
The source now has an active key. The Source ID field on the record becomes read-only at this point: it is the stable identifier that will appear on every ingested event from this source.
The "How to send events" section
Once a key is generated, the Ingest Endpoint and curl example fields on the source record populate automatically. The ingest endpoint URL is stable and does not change when you rotate the key. The curl example includes a placeholder for the key value.
To test the connection, copy the curl example, replace the {KEY} placeholder with your actual key, and run it from a terminal that can reach the ingest endpoint. A successful POST returns a 200 response with an accepted count.
Status fields explained
The Status section on the right side of the source record shows operational metadata. These fields are all read-only:
- Created: when the source record was created.
- Last Used: updated by the ingest Lambda each time events arrive. This update uses a fire-and-forget pattern, so it may lag real activity by up to a minute. Shows "Invalid Date" or is empty until the first events arrive.
- Key Identifier: the first 8 characters of the SHA-256 hash of the active key. Lets admins verify which key is in use without exposing it. Useful when multiple people manage sources and you need to confirm the correct key is deployed.
- Key Generated: when the current active key was created.
- Key Generated By: which administrator generated the key.
Rotating or revoking a key
Keys should be rotated on a schedule or whenever a credential might have leaked.
- Rotate: click Rotate key to generate a new one and invalidate the old one immediately. The new key is shown once in the same way. Update the source system before or just after rotation to avoid an ingestion gap.
- Revoke: click Revoke key to remove the key entirely and mark the source inactive. Use this when a system is decommissioned or a credential is known compromised.
Rotation and revocation are immediate. There is no grace period and no way to retrieve a revoked key.
Tips
- Give each source system its own log source record. Sharing keys across systems means you cannot isolate a compromise or tune rate limits per source.
- Never paste a key into a ticket, a chat message, or a shared document. Treat it like any other production credential.
- If you rename a log source, the source ID stays the same. Historical events are never orphaned.
- Link sources to platforms early. It is easier to add the association during setup than to backfill it later when you start writing alert rules.
What to do next
Wire the source system up to the ingest endpoint using the key. See Ingesting logs via the API for the full wire contract, body format, and code examples.