DemandFlow provides dedicated toolbar actions for assigning and returning IT assets. These actions enforce status rules, update multiple fields, and create assignment history records for a complete audit trail.
The Assign action
Open an IT asset record and click Assign in the toolbar. This action:
- Checks the asset's current status. If Allow Assignment is set to No on the status, the action is blocked.
- Prompts you to select a user, department, and location.
- Updates the Assigned To, Department, and Location fields.
- Changes the status to the appropriate active status.
- Creates an assignment history record capturing who, when, and by whom.
The Return action
Click Return when a staff member gives back a device. This action:
- Clears the Assigned To, Department, and Location fields.
- Changes the status to the appropriate inactive or storage status.
- Creates an assignment history record with the return date, closing out the assignment period.
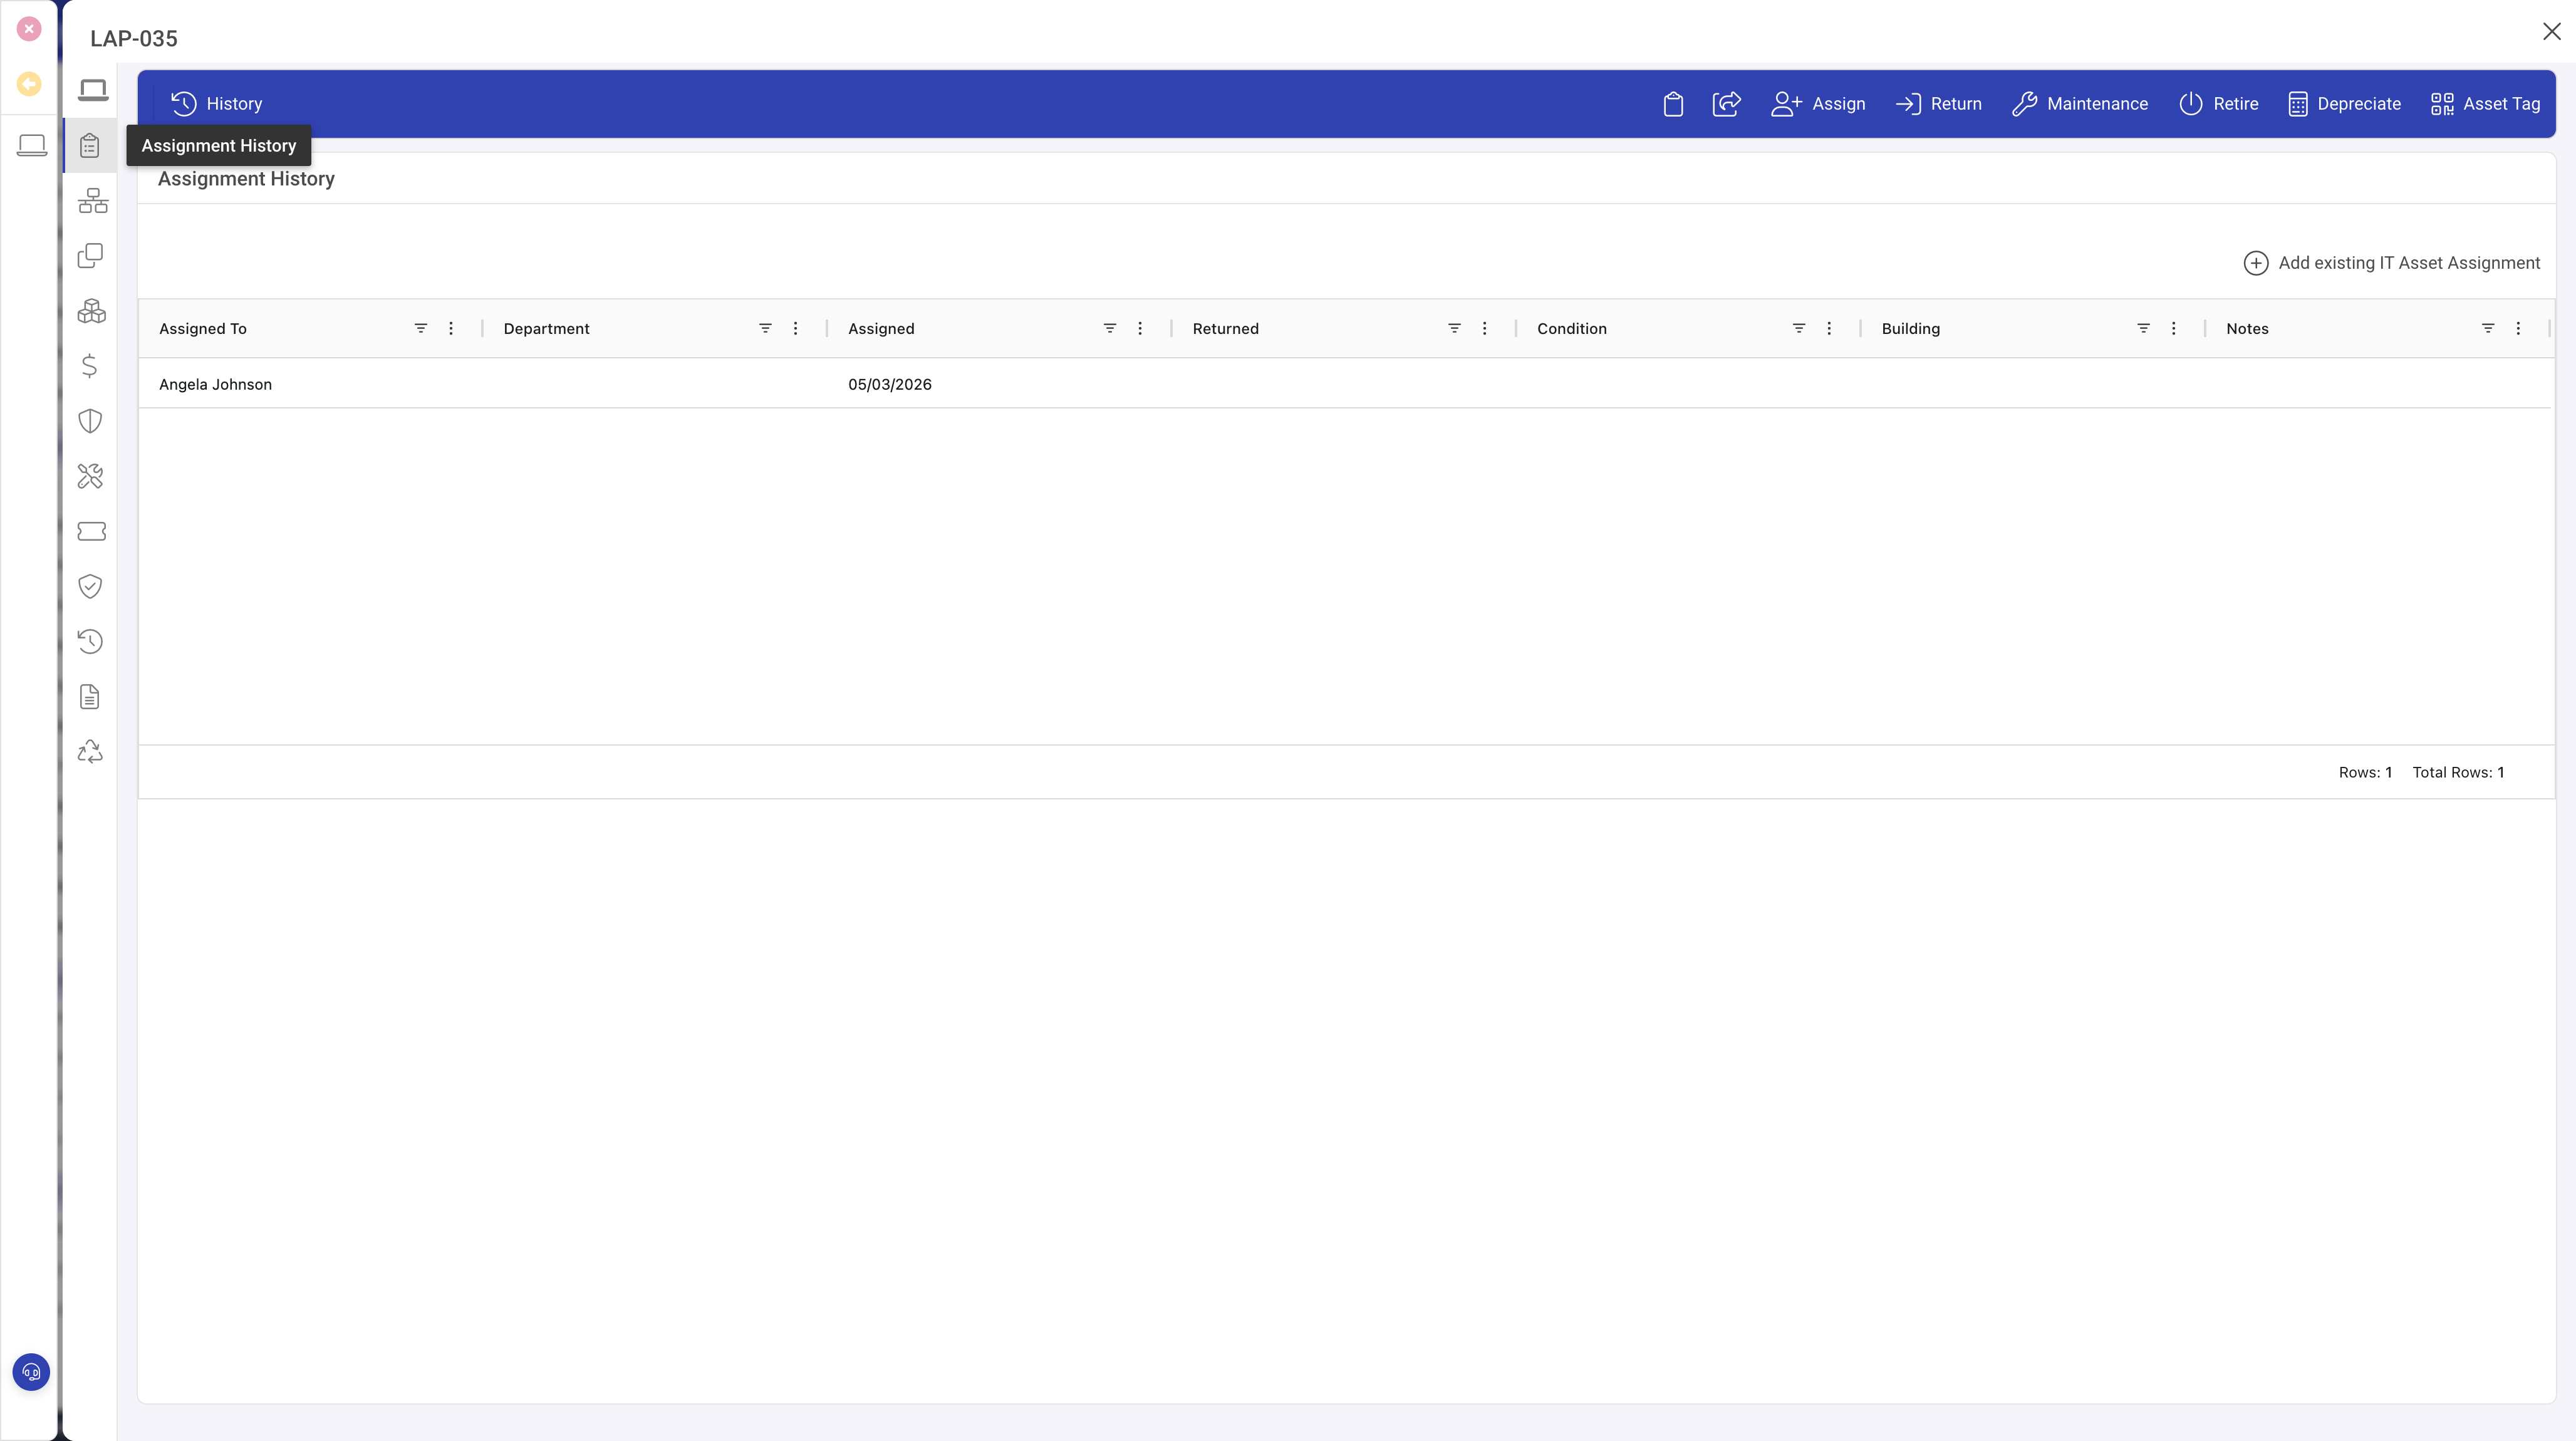
Assignment History panel
The Assignment History panel shows a related list of all assignment records. Each row displays the assigned user, assignment date, return date (if returned), department, and location. This gives you a full chronological record of every person who has had custody of the asset.
Status rules and assignment
The Allow Assignment and Allow Checkout rules on each IT Asset Status control whether assets in that status can be assigned. This prevents mistakes such as assigning a retired asset or one under repair. If the Assign action is blocked, check the asset's current status and review its rules.
Bulk Assign
Select multiple assets in the grid, then choose Bulk Assign from the bulk actions menu. This is useful during onboarding when a new starter needs several items (laptop, monitor, keyboard, headset) assigned in one operation. Individual assignment history records are created for each asset.
Tips
- Always use the Assign and Return toolbar actions rather than manually editing the Assigned To field. Manual edits bypass status rules and do not create history records.
- Review assignment history periodically to identify assets assigned for unusually long periods or changing hands frequently.
- Use Bulk Assign for onboarding and Bulk Return when processing leavers.